iPhone Back Housing Replacement: Step-by-Step Guide
iPhone Back Housing Replacement: Step-by-Step Guide ,Welcome to our comprehensive guide on how to replace the back housing of your iPhone. Whether your iPhone’s back glass is cracked, scratched, or completely shattered, following these steps will help you restore your device to its original condition. Please note that this guide is intended for individuals comfortable with performing repairs. If you’re not confident in your repair skills, we recommend visiting a professional repair service like iPhone Repair NYC at 10 E 39th St, 9th Floor, Suite 903, New York, NY 10016.

Tools and Materials Needed
- Replacement back housing
- Precision screwdriver set
- Plastic opening tools
- Spudger
- Suction cup
- Tweezers
- Heat gun or iOpener
- Adhesive strips
- Anti-static wrist strap (optional)
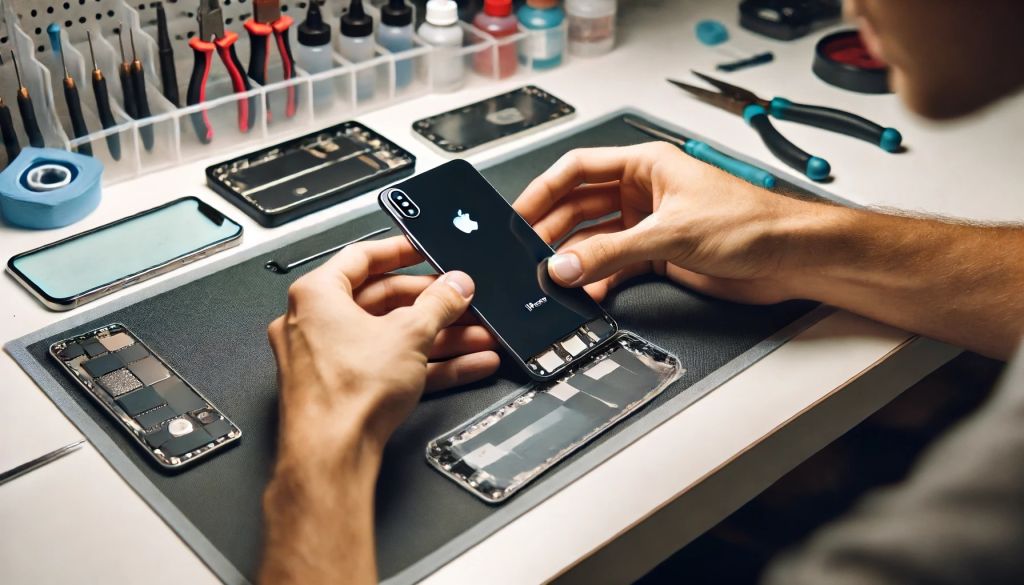
Step-by-Step Guide iPhone Back Housing Replacement
1. Power Down Your iPhone
- Ensure your iPhone is completely turned off to prevent any electrical damage.
2. Remove the Screws
- Use a Pentalobe screwdriver to remove the two screws located at the bottom of the iPhone near the charging port.
3. Heat the Edges
- Using a heat gun or iOpener, gently heat the edges of the iPhone to soften the adhesive. Be careful not to overheat.
4. Lift the Screen
- Place a suction cup near the bottom edge of the front screen. Gently pull up on the suction cup while using a plastic opening tool to pry the screen away from the back housing.
5. Open the iPhone
- Carefully open the iPhone by swinging the screen up from the bottom like a book. Be mindful of the ribbon cables connecting the screen to the motherboard.
6. Disconnect the Battery
- Using a spudger, disconnect the battery connector to prevent any electrical short circuits.
7. Remove the Components
- Carefully disconnect and remove all internal components connected to the back housing. This includes the rear camera, logic board, battery, and any other components attached to the back housing.
8. Transfer Components to New Back Housing
- Transfer all removed components from the old back housing to the new replacement back housing. Ensure each component is securely attached and properly aligned.
9. Reassemble the iPhone
- Reconnect the battery and all other components to the motherboard. Double-check that all connections are secure and in their correct places.
10. Seal the iPhone
- Carefully align the screen with the new back housing and press it into place. If necessary, use new adhesive strips to ensure a secure fit.
11. Replace the Screws
- Use the Pentalobe screwdriver to replace the two screws at the bottom of the iPhone near the charging port.
12. Power On and Test
- Power on your iPhone and test all functions to ensure everything is working correctly, including the screen, camera, and charging port.
Tips and Warnings
- Work Slowly and Carefully: Take your time to avoid damaging internal components.
- Use Proper Tools: Ensure you have all the necessary tools and high-quality replacement parts.
- Professional Help: If you’re unsure about any step, seek professional assistance to avoid causing further damage.
[/vc_column_text][/vc_column][/vc_row]

Visit Us for Professional Repair Services
If you prefer professional assistance, visit us at:
iPhone Repair NYC
Address: 10 E 39th St, 9th Floor, Suite 903, New York, NY 10016
Phone Number: +1 646-698-2228
Website: iPhone Repair Zone
Our expert technicians are ready to help you with all your repair needs. We offer quick turnaround times, high-quality parts, and exceptional customer service. Don’t let a damaged iPhone slow you down – contact us today!
By Volkan Yontemli : iPhone Back Housing Replacement
