iPad 7, 8, 9, and 10 Screen Repair
Introduction
iPads are known for their sleek design and high functionality, but like all devices, they are susceptible to damage, particularly to their screens. Whether you own an iPad 7, 8, 9, or the latest iPad 10, a cracked or shattered screen can severely impact your experience. This guide will walk you through the detailed process of repairing your iPad screen, ensuring that your device looks and works like new.
Tools and Materials Needed
- Replacement screen
- Phillips screwdriver set
- Plastic opening tools
- Suction cup
- Heat gun or Opener
- Adhesive strips
- Tweezers
- Anti-static wrist strap (optional)
Step-by-Step Screen Repair Process
1. Power Down the iPad
- Ensure your iPad is completely turned off before beginning the repair to avoid any electrical damage.
2. Heat the Edges
- Use a heat gun or iOpener to soften the adhesive around the edges of the iPad screen. Gently move the heat source around the perimeter of the device for a few minutes.
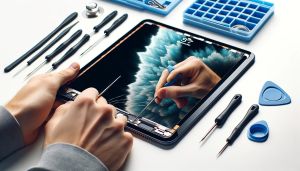
3. Lift the Screen
- Place a suction cup near the edge of the iPad screen and gently pull up to create a small gap.
- Insert a plastic opening tool into the gap and carefully slide it around the edges to separate the adhesive. Be cautious not to damage any internal components.
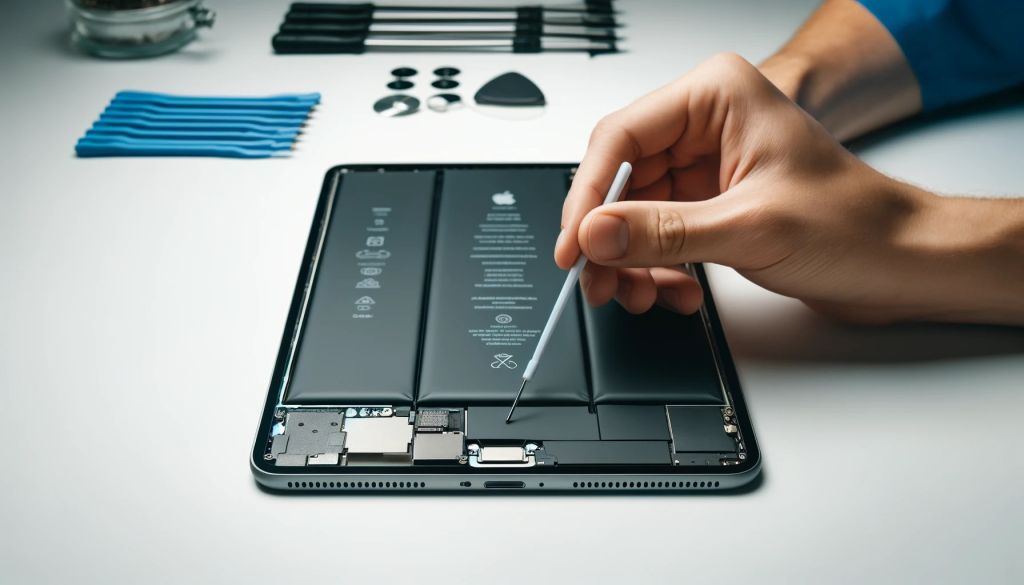
4. Disconnect the Battery
- Using a spudger, gently disconnect the battery to prevent any electrical shorts during the repair.
5. Remove the Broken Screen
- Carefully lift the screen and disconnect any ribbon cables attaching it to the iPad. Note the position of these cables for reassembly.
- Fully remove the broken screen and clean off any remaining adhesive from the frame.
6. Install the New Screen
- Connect the new screen’s ribbon cables to the corresponding ports on the iPad.
- Align the new screen with the frame and gently press it into place, ensuring it fits securely.
7. Reconnect the Battery
- Reconnect the battery using the spudger and make sure it is securely in place.
8. Seal the Screen
- Apply new adhesive strips around the edges of the iPad frame.
- Press the new screen firmly into the adhesive, ensuring it is securely attached.
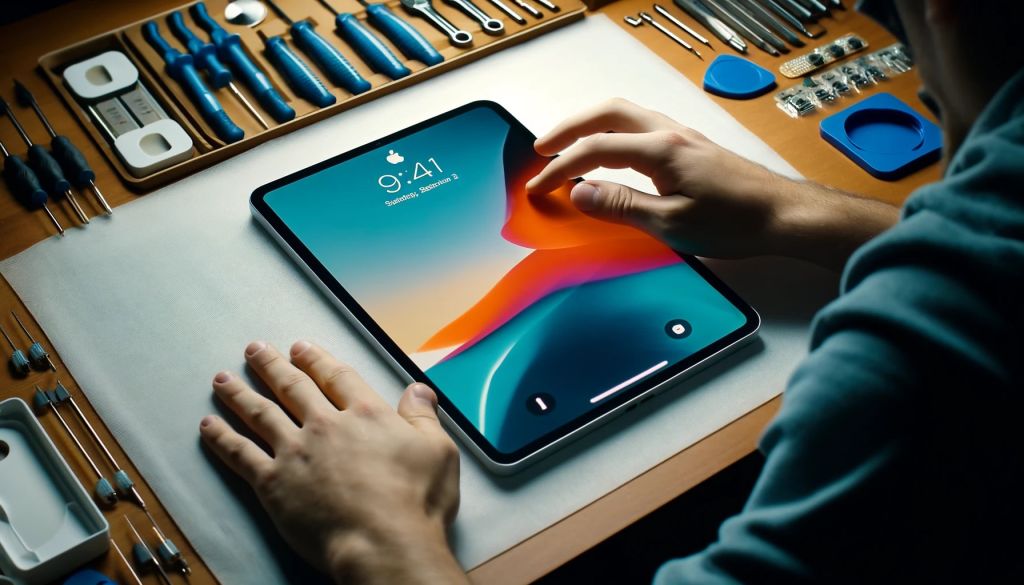
9. Test the Device
- Power on the iPad and check that the new screen functions correctly.
- Test the touch functionality and display to ensure everything is working as expected.
Tips and Warnings
- Work in a Clean Area: Ensure your workspace is free of dust and debris to avoid contamination during the repair.
- Use the Right Tools: Make sure you have all the necessary tools before starting the repair to avoid damaging your iPad.
- Professional Help: If you are not confident in performing the repair yourself, seek professional assistance to prevent further damage to your device.
Conclusion
Replacing the screen on your iPad 7, 8, 9, or 10 can restore its functionality and extend its lifespan. By following this guide, you can complete the repair process efficiently and safely.
Contact Information
For professional repair services, visit us at:
📍 Address: 10 E 39th St, 9th Floor, Suite 903, New York, NY 10016
📞 Phone Number: +1 646-698-2228
🌐 Website: iPhone Repair Zone
Spanish (Mexico)
📍 Dirección: 10 E 39th St, 9th Floor, Suite 903, Nueva York, NY 10016
📞 Número de teléfono: +1 646-698-2228
🌐 Sitio web: iPhone Repair Zone
Japanese (Japan)
📍 住所: 10 E 39th St, 9th Floor, Suite 903, ニューヨーク, NY 10016
📞 電話番号: +1 646-698-2228
🌐 ウェブサイト: iPhone Repair Zone
French (France)
📍 Adresse: 10 E 39th St, 9th Floor, Suite 903, New York, NY 10016
📞 Numéro de téléphone: +1 646-698-2228
🌐 Site web: iPhone Repair Zone